Replacing strings on a western guitar
If your strings become discolored, sound dull, and feel dirty when you run your fingertip over them, it is time to replace them with new strings.
If your strings are discoloured, sound dull and feel dirty when you run your fingertip over them, it is time to replace them with new strings! In this article I will explain the very handy IUOB method for replacing your strings and also explain how to best clean your guitar with specific attention to the guitar neck after removing the old strings. For this you will need the following items: a new set of strings, a string winder, a cleaner and an oil, a soft dry cloth and a neck rest.
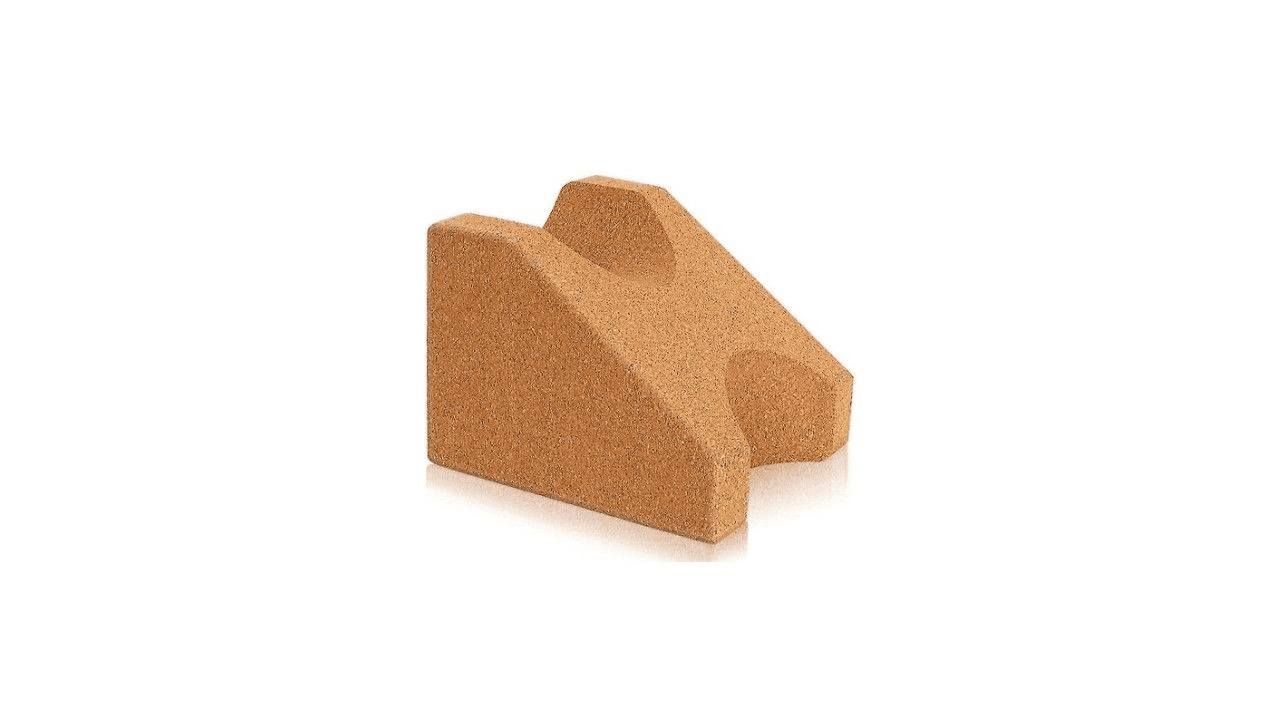
If you don't have much experience with guitar maintenance, it is best to place the guitar on a table or work surface. You can use a towel to gently position the sound box as well as a neck rest to precisely position the head of the guitar. If you don't have this at home, you can always make something yourself. For example, you can take a few small towels and wind them together with a few rubber bands. It is important that the support pushes the head of the guitar high so that you can still easily tighten the tuning machines without the string winder or your hand being obstructed.
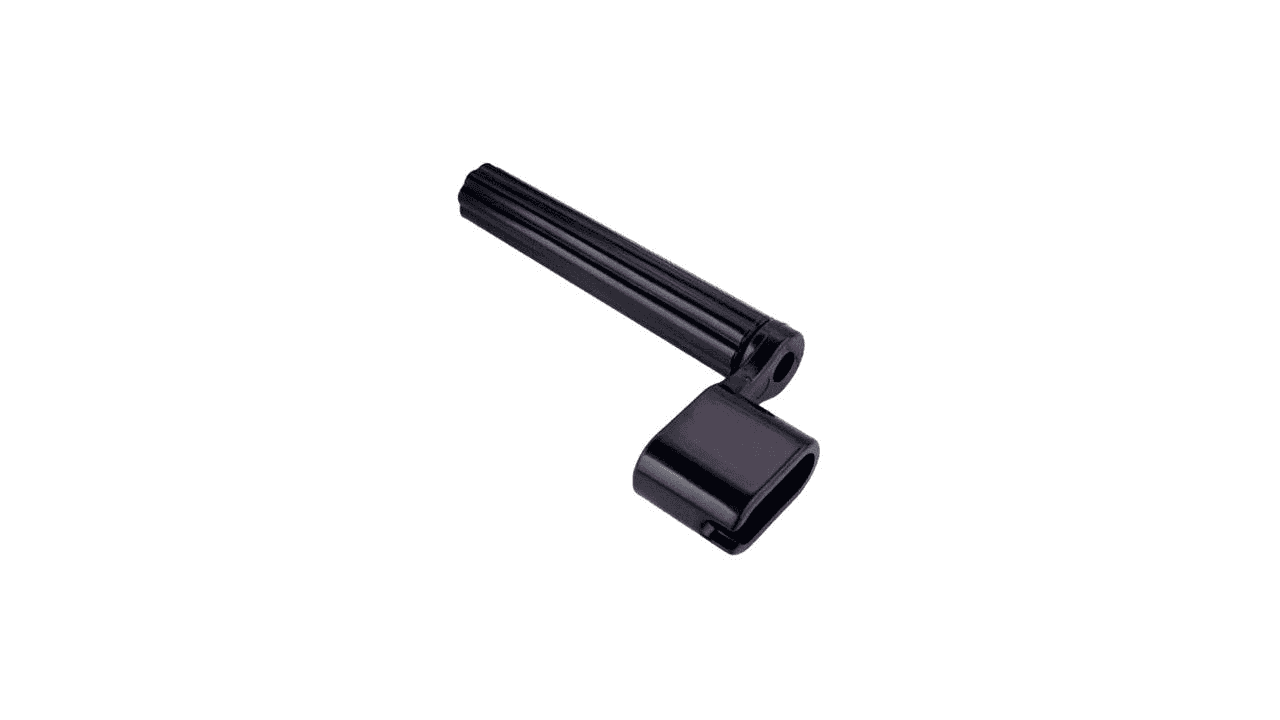
To loosen a string, turn the tuning pegs clockwise. A string winder will make this a little faster. Continue until the tension is gone and the string is loose enough to remove with your fingers.
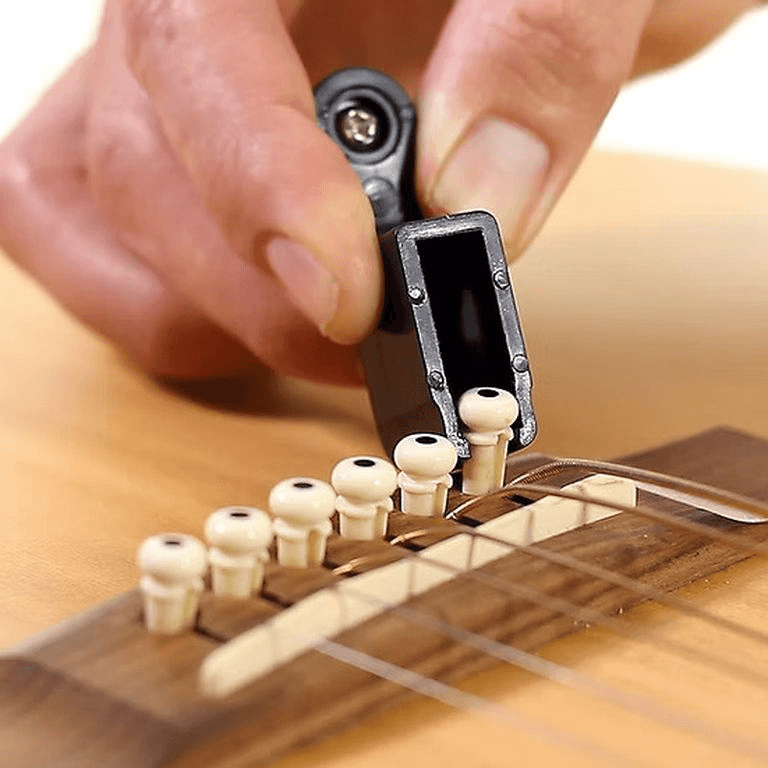
You can then use the bottom of the string winder, which has an opening, as a lever to easily remove the bridge pin from the guitar's bridge. Once the pin is out, you can easily remove the string. If your guitar has a fixed bridge, you can sporadically remove all the strings together and this will allow you to easily clean the neck and the keys in one go. However, do not overdo it. If the tension on the neck is released too suddenly and too sharply, this can have negative consequences for the neck of the guitar.
Cleaning is an important step in maintenance. The keyboard or fretboard can collect dirt, sweat, oil and dust which can have a negative effect on the playability of your instrument. To start, it is best to use a dry cloth to wipe the surfaces clean. Think of the front, sides and back of the sound box, the back of the guitar neck and the headstock of the guitar. You can also use a soft brush or a toothbrush to wipe away superficial dirt between the frets. For the keys I use a special cleaner called Dunlop 01 and an oil called Dunlop 02 which are part of the so-called Dunlop “Fretboard Care Kit”.

The cleaner consists of mild detergents and solvents that are safe for untreated woods such as rosewood, ebony or maple. It does not contain water and is designed to clean the wood deep into the pores without damaging or drying it out. Spray the cleaner on a cloth and then rub over the guitar keys, paying extra attention to the spaces between the frets. For stubborn dirt, you can also use a plastic tool such as a bank card or a savings card to gently scrape along the frets without damaging the wood. The oil helps to prevent the wood from drying out, cracking or warping and ensures that the fingerboard remains smooth and supple, without leaving a greasy residue. If you do not have these products on hand, you can also use household products such as mild soap and water, but caution is advised as too much moisture or harsh chemicals can damage the wood or affect the finish. A safe substitute for lemon oil can be a small amount of olive oil or mineral oil, but applied sparingly and with care.
To install the new strings, it is best to start with the low E string and work your way up. Usually, the strings are given an individual color so that you can easily recognize the correct string.

Insert the ball-shaped end of the string with the rounded side facing upwards through the hole. Replace the bridge pin in the hole on top of the string and check that it is properly secured. To do this, pull on the string to check. Guide the string through the corresponding tuner pin and bring it inwards. Insert the string under, then bend it over and guide it behind the tuner pin where you hold it with one hand while turning the tuning peg counterclockwise with the other hand to increase the tension. When you notice that the string is sufficiently tight, cut off the excess part. Repeat this procedure for the other five strings. When replacing the top three strings, use the IUOB method (Inside, Under, Over, Back) in mirror image. After fitting new strings, it is advisable to stretch them out a bit to prevent them from quickly coming loose again or changing pitch. It helps the strings stabilize so they maintain their tension and don't need to be retuned too soon. Tune your guitar and you're good to go with a brand new guitar!

Dive into the world of guitars, techniques, maintenance and musical inspiration. In this blog I share practical tips, answers to frequently asked questions and fun insights.

With personal guidance, flexible lesson times and access to online lesson materials, you can take the first step today!